

Step by Step Guide to netsapiens Integration
Getting Ready
- V.41
- Signup for Evaluation
- Get Fax Cloud Account and password
- Get Fax Cloud URL
- Fax Cloud DID
- Instructions (these steps)
- Get Fax ATA (MP-202D or QX300)
netsapiens Management Integration
- Edit config file to use your Fax Cloud URL and credentials
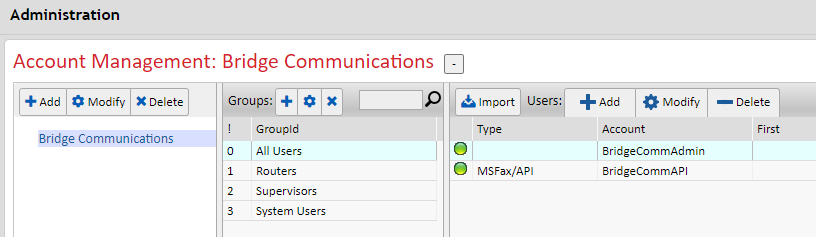
- Create account from the netsapiens management portal
- Log in to Fax Cloud admin portal and verify connection status and account creation (5-minute window on activity)
- What needs to happen within netsapiens to create an account and attach the Fax Cloud DID to it. Thus, be able to send/receive a fax? (refer to netsapiens guide)
- Send fax to Fax Cloud DID
- Receive fax per above
Setting up Telephony / SIP Trunks
- Publicly accessible VM (HTTPS)
- Install HTTPS Port Server and Proxy Server
- Connect HTTPS Port Server to your Fax Cloud account
- Create SIP Trunk per netsapiens documentation
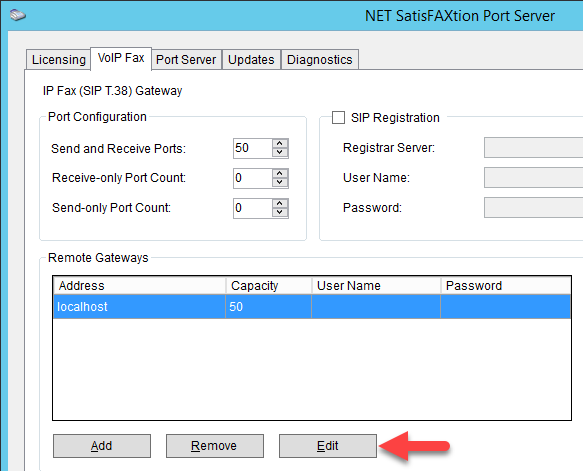
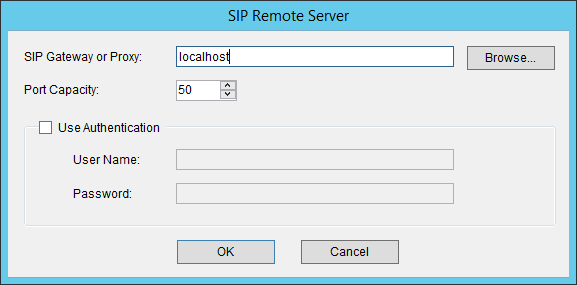
- What are the key SIP settings needed to configure the PS?
Start > NET SatisFAXtion Port Server > Fax Hardware Setup
- What else needs to happen within netsapiens? (refer to netsapiens guide)